Recording vocals for the first time can feel overwhelming, but it doesn’t have to be. With the right setup, basic technique, and a clear process, you can capture clean, professional-sounding vocals even from a home studio. This beginner’s guide breaks everything down step by step.

1. Set Up a Quiet Recording Space
You don’t need a fancy studio—just control the sound.
-
Choose the quietest room possible
-
Turn off fans, AC, and background noise
-
Use curtains, clothes, or foam to reduce echo
A clean room makes a bigger difference than expensive gear.
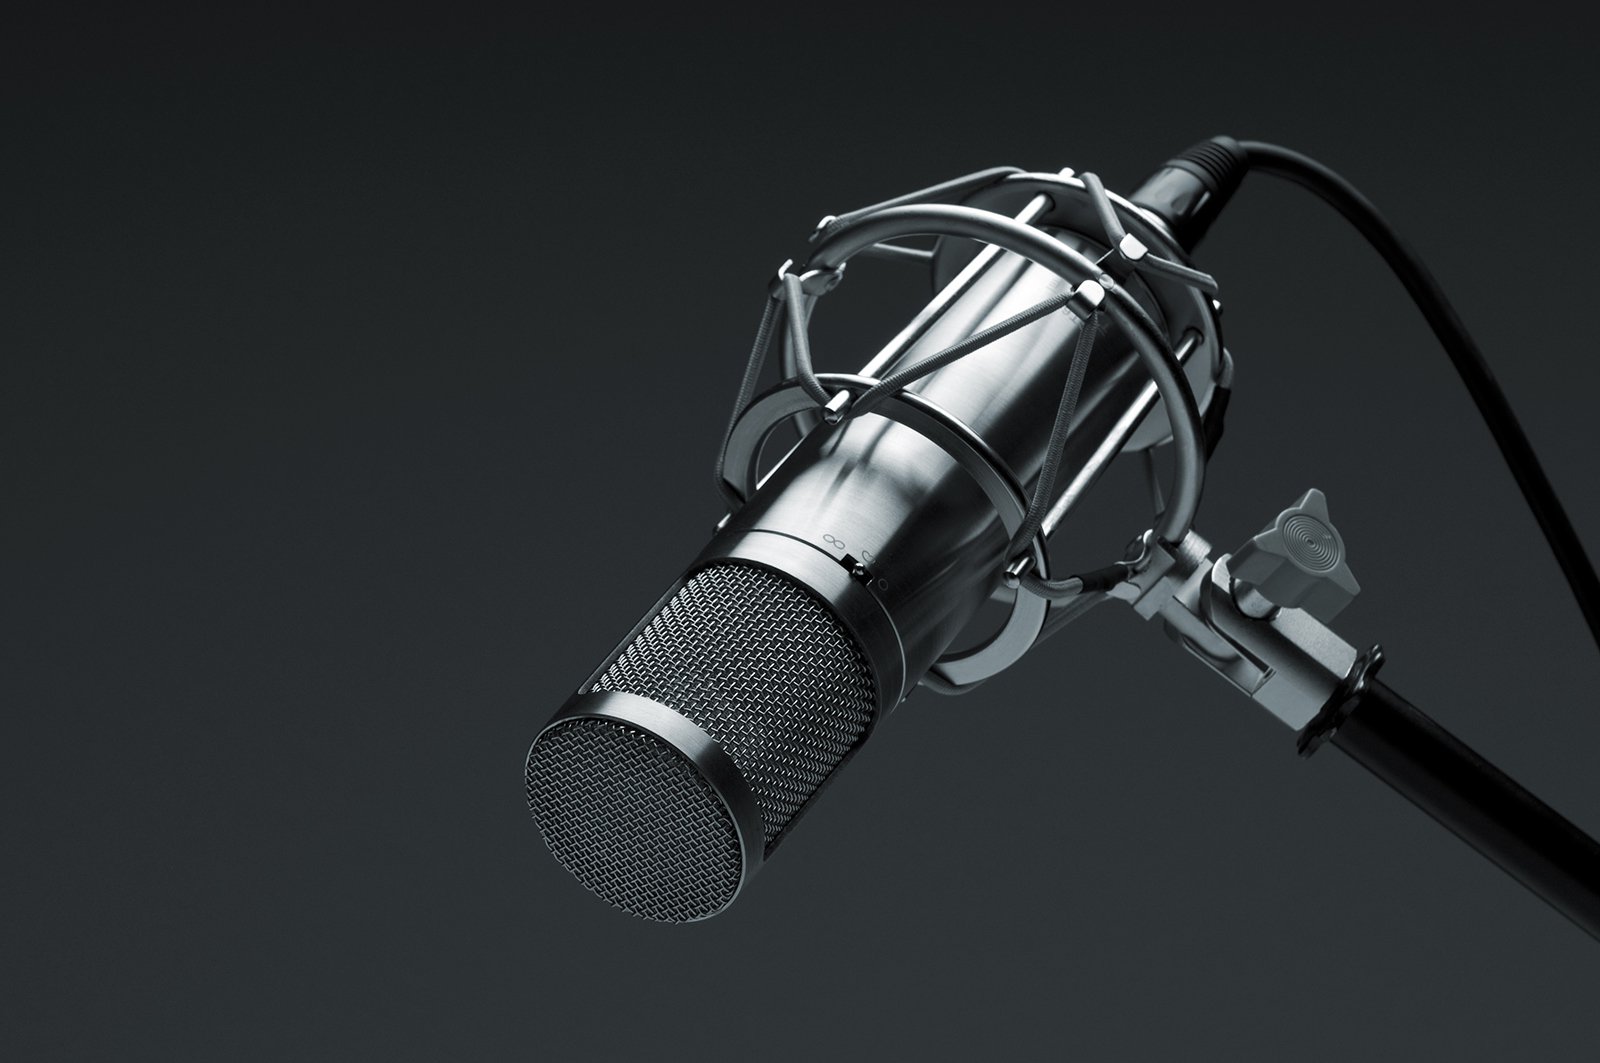
2. Choose the Right Equipment
Start simple and reliable.
-
Microphone: Condenser mic for clarity, dynamic mic for untreated rooms
-
Audio interface: Connects mic to your computer
-
Headphones: Closed-back to prevent sound bleed
-
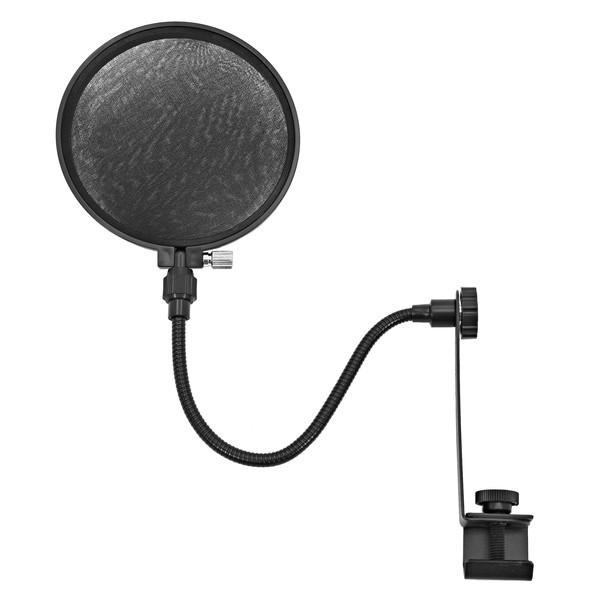
Pop filter: Reduces harsh “P” and “S” sounds
Good basics beat complicated setups.
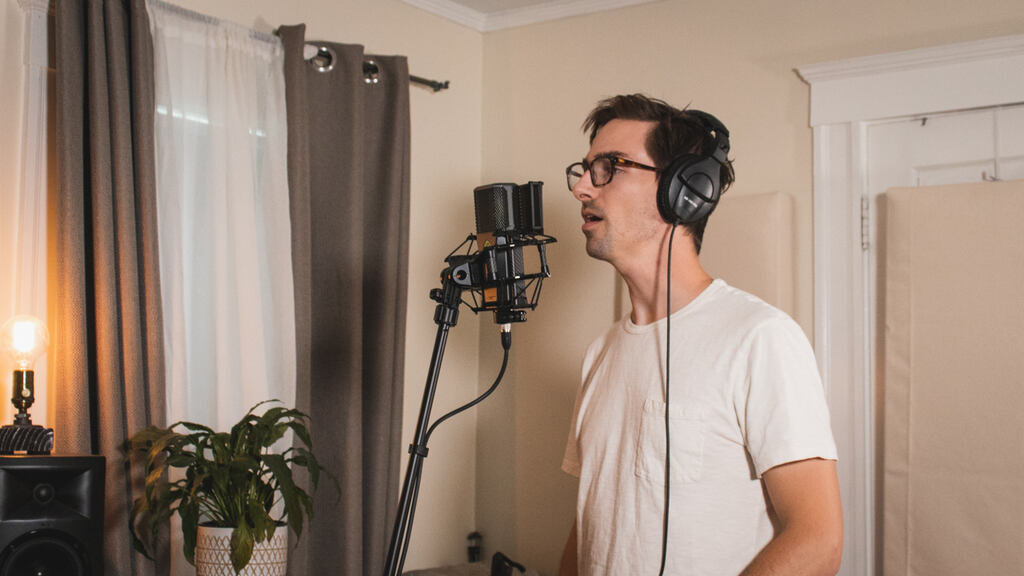
3. Position the Microphone Correctly
Mic placement directly affects vocal quality.
-
Stand 15–20 cm from the mic
-
Keep the mic slightly angled, not straight on
-
Stay consistent in distance while recording
Consistency = easier mixing later.
4. Prepare Your Voice
Never record without warming up.
-
Drink water
-
Do light vocal warm-ups (humming, lip trills)
-
Relax your neck and shoulders
A relaxed voice sounds fuller and more controlled.
5. Set Proper Recording Levels
Avoid distortion at all costs.
-
Aim for peaks around -10 to -6 dB
-
Never let the signal clip into the red
-
Record with enough headroom
You can always make vocals louder later.
6. Use Headphones While Recording
Always record vocals with headphones.
-
Prevent the beat from leaking into the mic
-
Keep volume comfortable, not loud
-
Focus on timing and pitch
Clear monitoring improves performance.
7. Record Multiple Takes
Professionals never rely on one take.
-
Record 3–5 takes per section
-
Stay relaxed and focused
-
Keep energy consistent
Later, choose or combine the best parts.
8. Keep Effects Minimal While Recording
Effects are tempting—avoid them.
-
Record vocals dry or with very light compression
-
Skip heavy reverb or autotune while tracking
-
Focus on performance first
Clean recordings give you more control in mixing.
9. Listen Back and Take Notes
Review your takes objectively.
-
Check for clarity, timing, and noise
-
Note what needs re-recording
-
Improve one thing at a time
Progress comes from listening, not guessing.
10. Save and Organize Your Files
Good habits save time.
-
Name your takes clearly
-
Back up your files
-
Keep sessions organized
Professional workflow starts early.
Final Thoughts
Recording great vocals is about environment, technique, and repetition. You don’t need expensive gear—just consistency and care. As you practice, your recordings will improve fast.
If you want, I can:
-
Create a home studio checklist
-
Help you choose budget-friendly gear
-
Guide you through basic vocal editing
Related posts

How To Improve Your Rap Voice
How to Improve Your Rap Voice Improving your rap voice is a mix of technique, conditioning, and artis …

Techniques To Get Perfect Vocals
Techniques To Get Perfect Vocals Perfect vocals don’t come from plugins alone—they come from preparat …


Vinnie Farrell
Voluptatem voluptatibus illum qui quibusdam nisi culpa. Necessitatibus sit asperiores assumenda sequi. Qui sapiente atque aliquid labore aut.
Mollitia dolor voluptatibus temporibus dicta nisi. Voluptatem non aut tenetur inventore sint fugiat alias nesciunt. Quas est autem porro.