
I
Home Recording Studio: What Do You Need First?
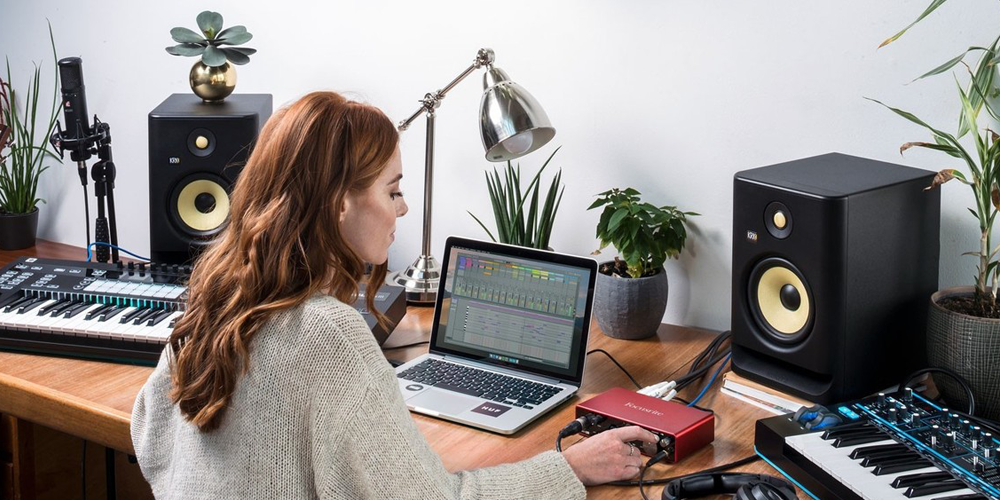
Building a home recording studio is one of the smartest moves for musicians, producers, DJs, and content creators. The good news: you don’t need expensive gear to get started. What you need first is the right foundation. This guide explains the essential elements you should focus on before investing in upgrades.


1. A Quiet and Controlled Space
Before buying equipment, choose the right room.
-
Pick the quietest space in your home
-
Avoid rooms with hard echoes
-
Use curtains, carpets, cushions, or clothes to absorb sound
A well-controlled room improves recordings more than expensive microphones.
2. A Reliable Computer
Your computer is the heart of your studio.
-
Laptop or desktop is fine
-
Enough RAM and storage for audio files
-
Stable operating system and updated drivers
You don’t need the latest model—just something dependable.
3. Recording Software (DAW)
A DAW (Digital Audio Workstation) is where everything happens.
-
Recording
-
Editing
-
Mixing
Choose one that feels intuitive and fits your workflow. Mastering one DAW is better than switching between many.
4. Audio Interface
An audio interface connects your microphone to your computer.
-
Provides clean sound input
-
Controls recording levels
-
Powers condenser microphones (+48V)
This is one of the most important purchases you’ll make.
5. Microphone
Choose a microphone based on your space.
-
Condenser mic – Clear and detailed, best for treated rooms
-
Dynamic mic – More forgiving in untreated rooms
Start with one good microphone and learn it well.
6. Headphones (Closed-Back)
Headphones are essential when recording.
-
Prevent sound from leaking into the mic
-
Help you hear timing and pitch clearly
-
Allow late-night recording
Closed-back headphones are best for vocal recording.
7. Microphone Stand and Pop Filter
Small accessories make a big difference.
-
Mic stand keeps positioning consistent
-
Pop filter reduces harsh “P” and “S” sounds
These improve recording quality instantly.
8. Cables and Basic Accessories
Don’t overlook the basics.
-
XLR microphone cable
-
USB or Thunderbolt cable for the interface
-
Power strip and cable management
Reliable cables prevent noise and interruptions.
9. Proper Setup and Levels
Gear alone is not enough.
-
Set input levels carefully (no clipping)
-
Maintain consistent mic distance
-
Always do test recordings
Good technique protects your sound.
10. Start Simple, Upgrade Later
Many beginners make the mistake of buying too much too soon.
-
Learn your setup deeply
-
Improve your room before upgrading gear
-
Add monitors, plugins, and treatment gradually
Skill grows faster than equipment.
Final Thoughts
A home recording studio starts with space, workflow, and fundamentals—not expensive gear. When your foundation is solid, every upgrade makes sense and delivers real improvement.
If you want, I can:
-
Recommend a budget starter setup
-
Create a home studio checklist
-
Help you choose gear based on vocals, DJing, or music production
Related posts

How To Improve Your Rap Voice
How to Improve Your Rap Voice Improving your rap voice is a mix of technique, conditioning, and artis …

Techniques To Get Perfect Vocals
Techniques To Get Perfect Vocals Perfect vocals don’t come from plugins alone—they come from preparat …


Hailey Fisher
Autem deleniti ut optio consequatur eos quia accusamus. Non quisquam quasi optio aperiam est odit quia. Ullam et aut sed officia ut.